Class 04: Rapid Prototyping
5 minute read
Kinetic sculptures! Originally, I wanted to go for something very, very ambitious. However, this weekend my family took me on a surprise trip to NYC, and on top of that we're moving so time wasn't in my favor. I was missing a lot of materials (such as hot glue) that I would have had under normal circumstances so I tried to be resourceful with what I had.
I decided to go for an origami crane kinetic sculpture, where the birds would fly over "clouds". I would have one motor control the entire thing. I wanted to try edge cams since they seemed very fun and a lot easier to implement with limited resources compared to other types of cams. It took longer than expected but I'm happy with the way it turned out! I tried to make it reasonably aesthetic and thought that it would be best if the motor was controlled by a simple potentiometer. I really opted for more of a mechanical and aesthetic approach to this because I think that's my weak spot and I think I learned a lot from this project. So, there was a lot of time spent on honing the edge cams and not really much on fancy coding or complex wiring.
Hover over each of the images to see my steps and thought process behind them. Also check out the videos! :)
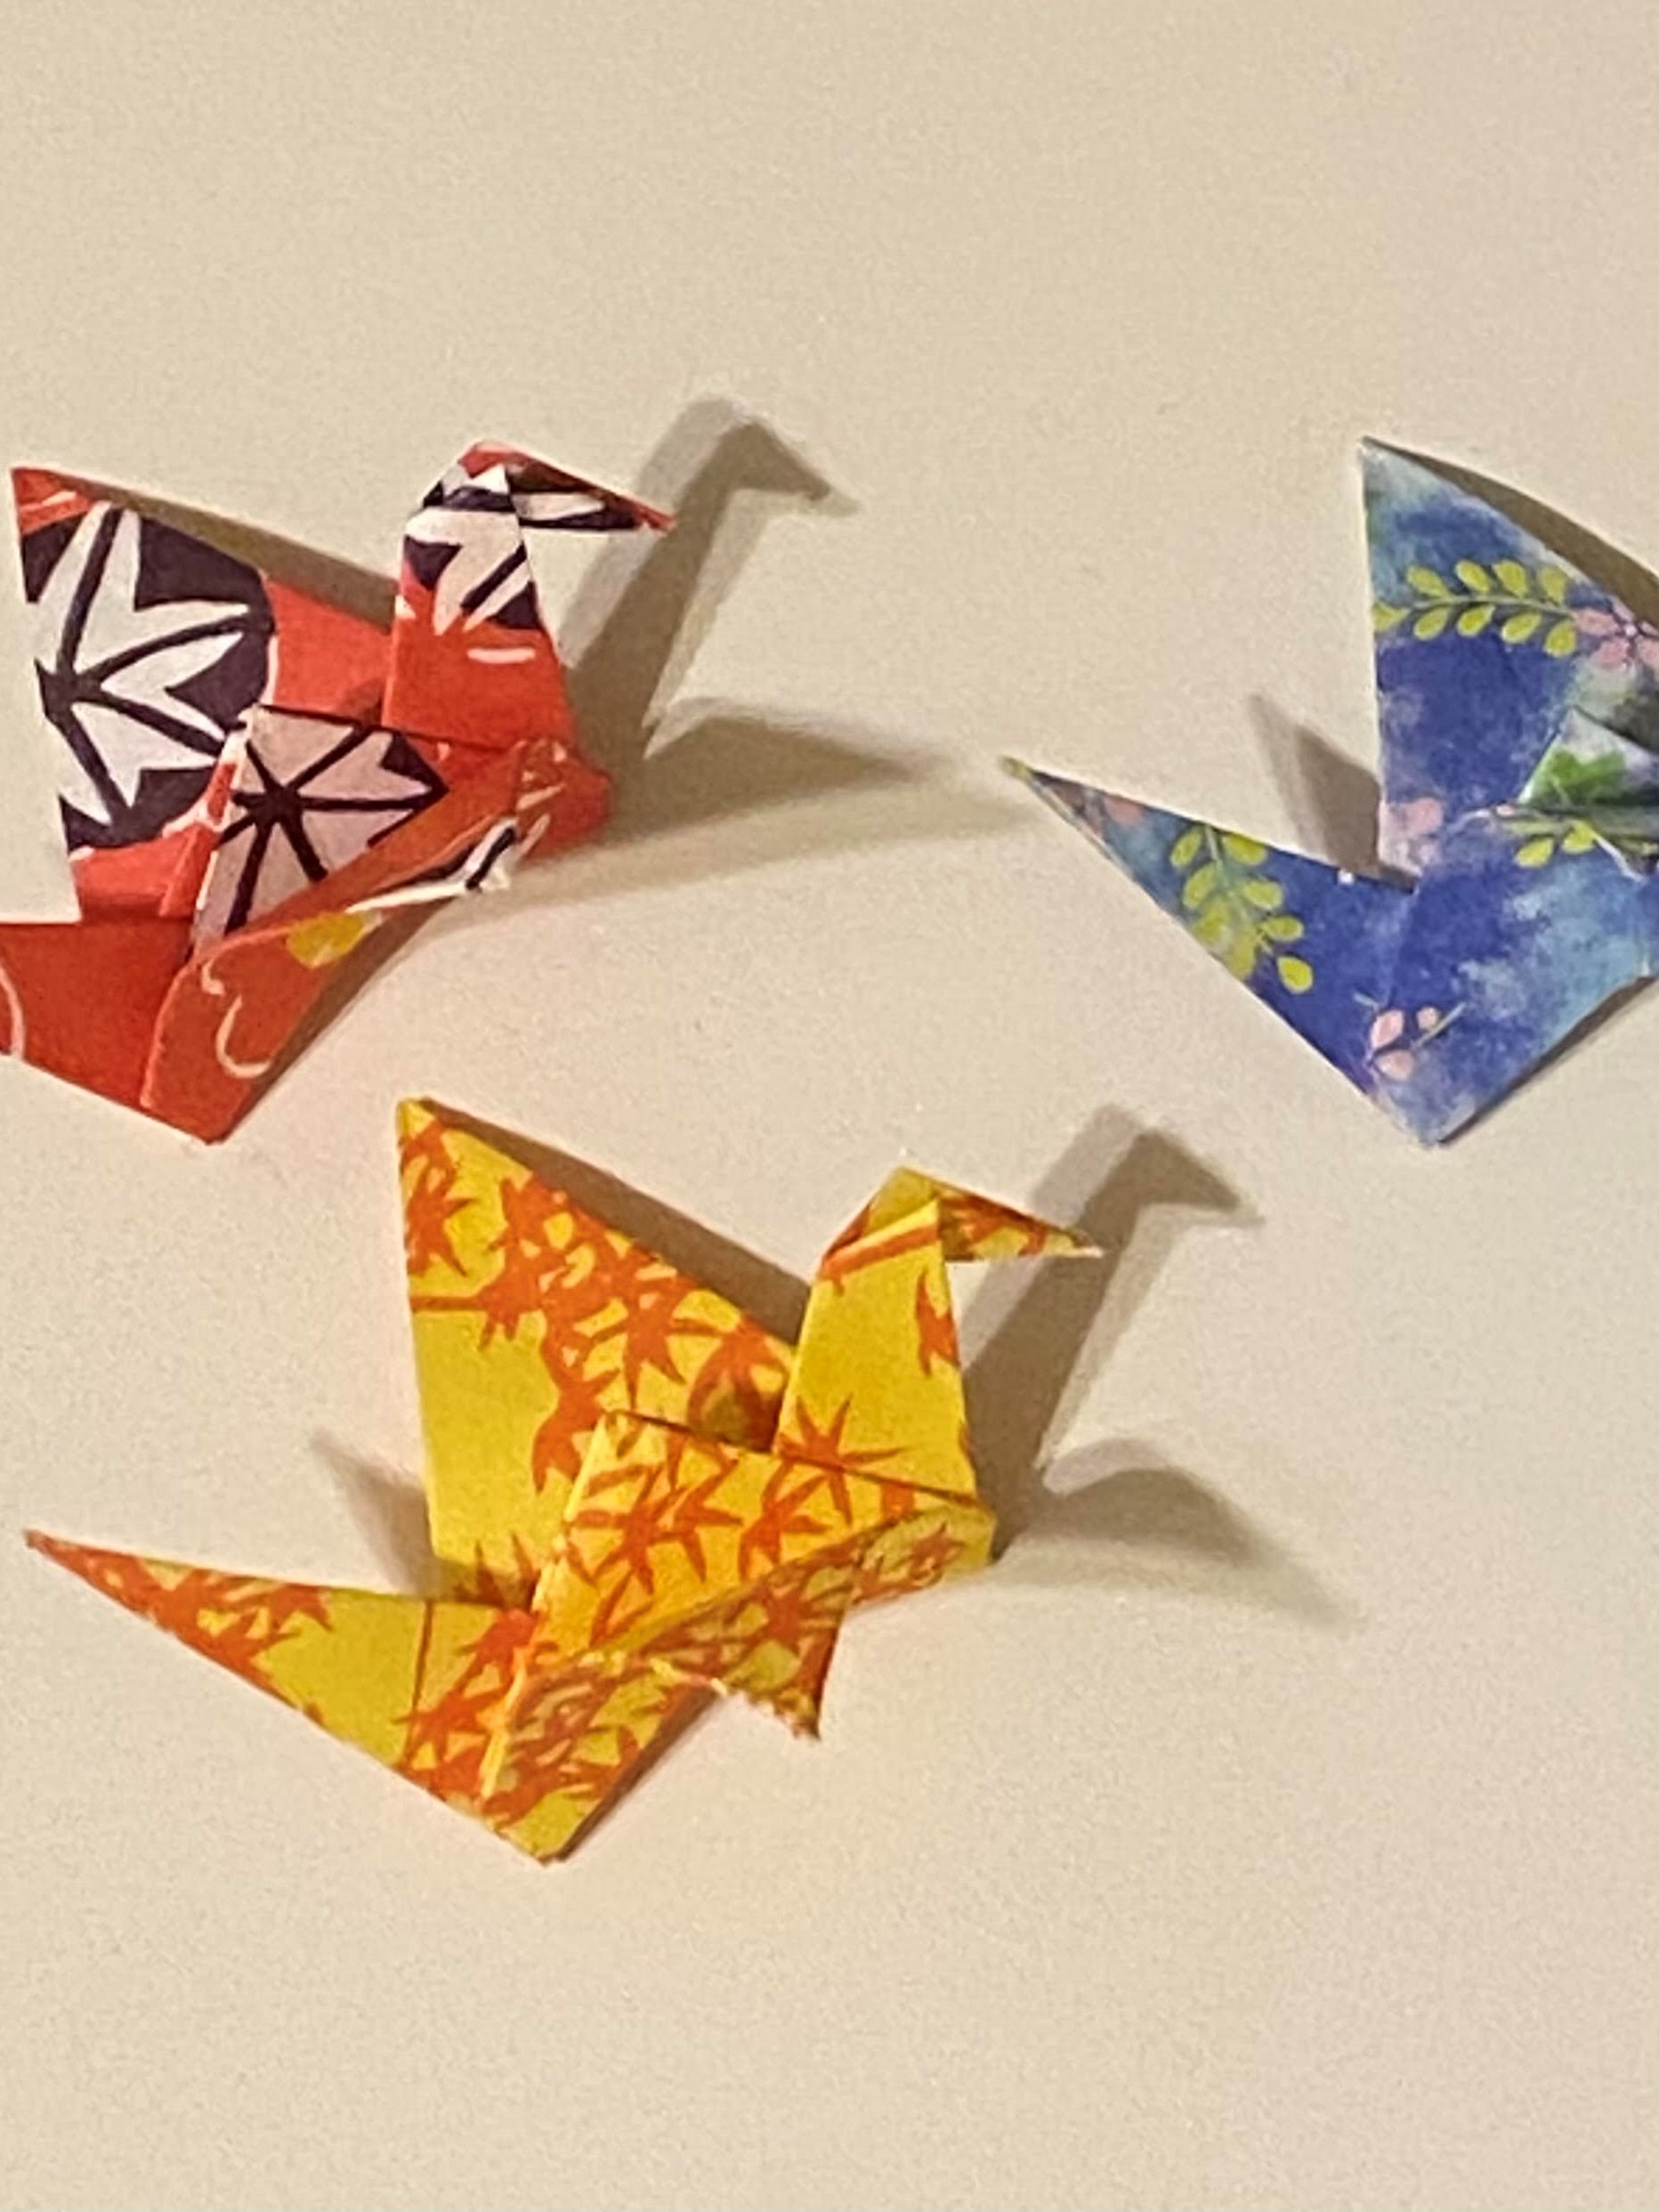
First, I folded some cranes. I had gotten a birthday present a while back of some beautiful origami paper and I used a lot of it for this project.
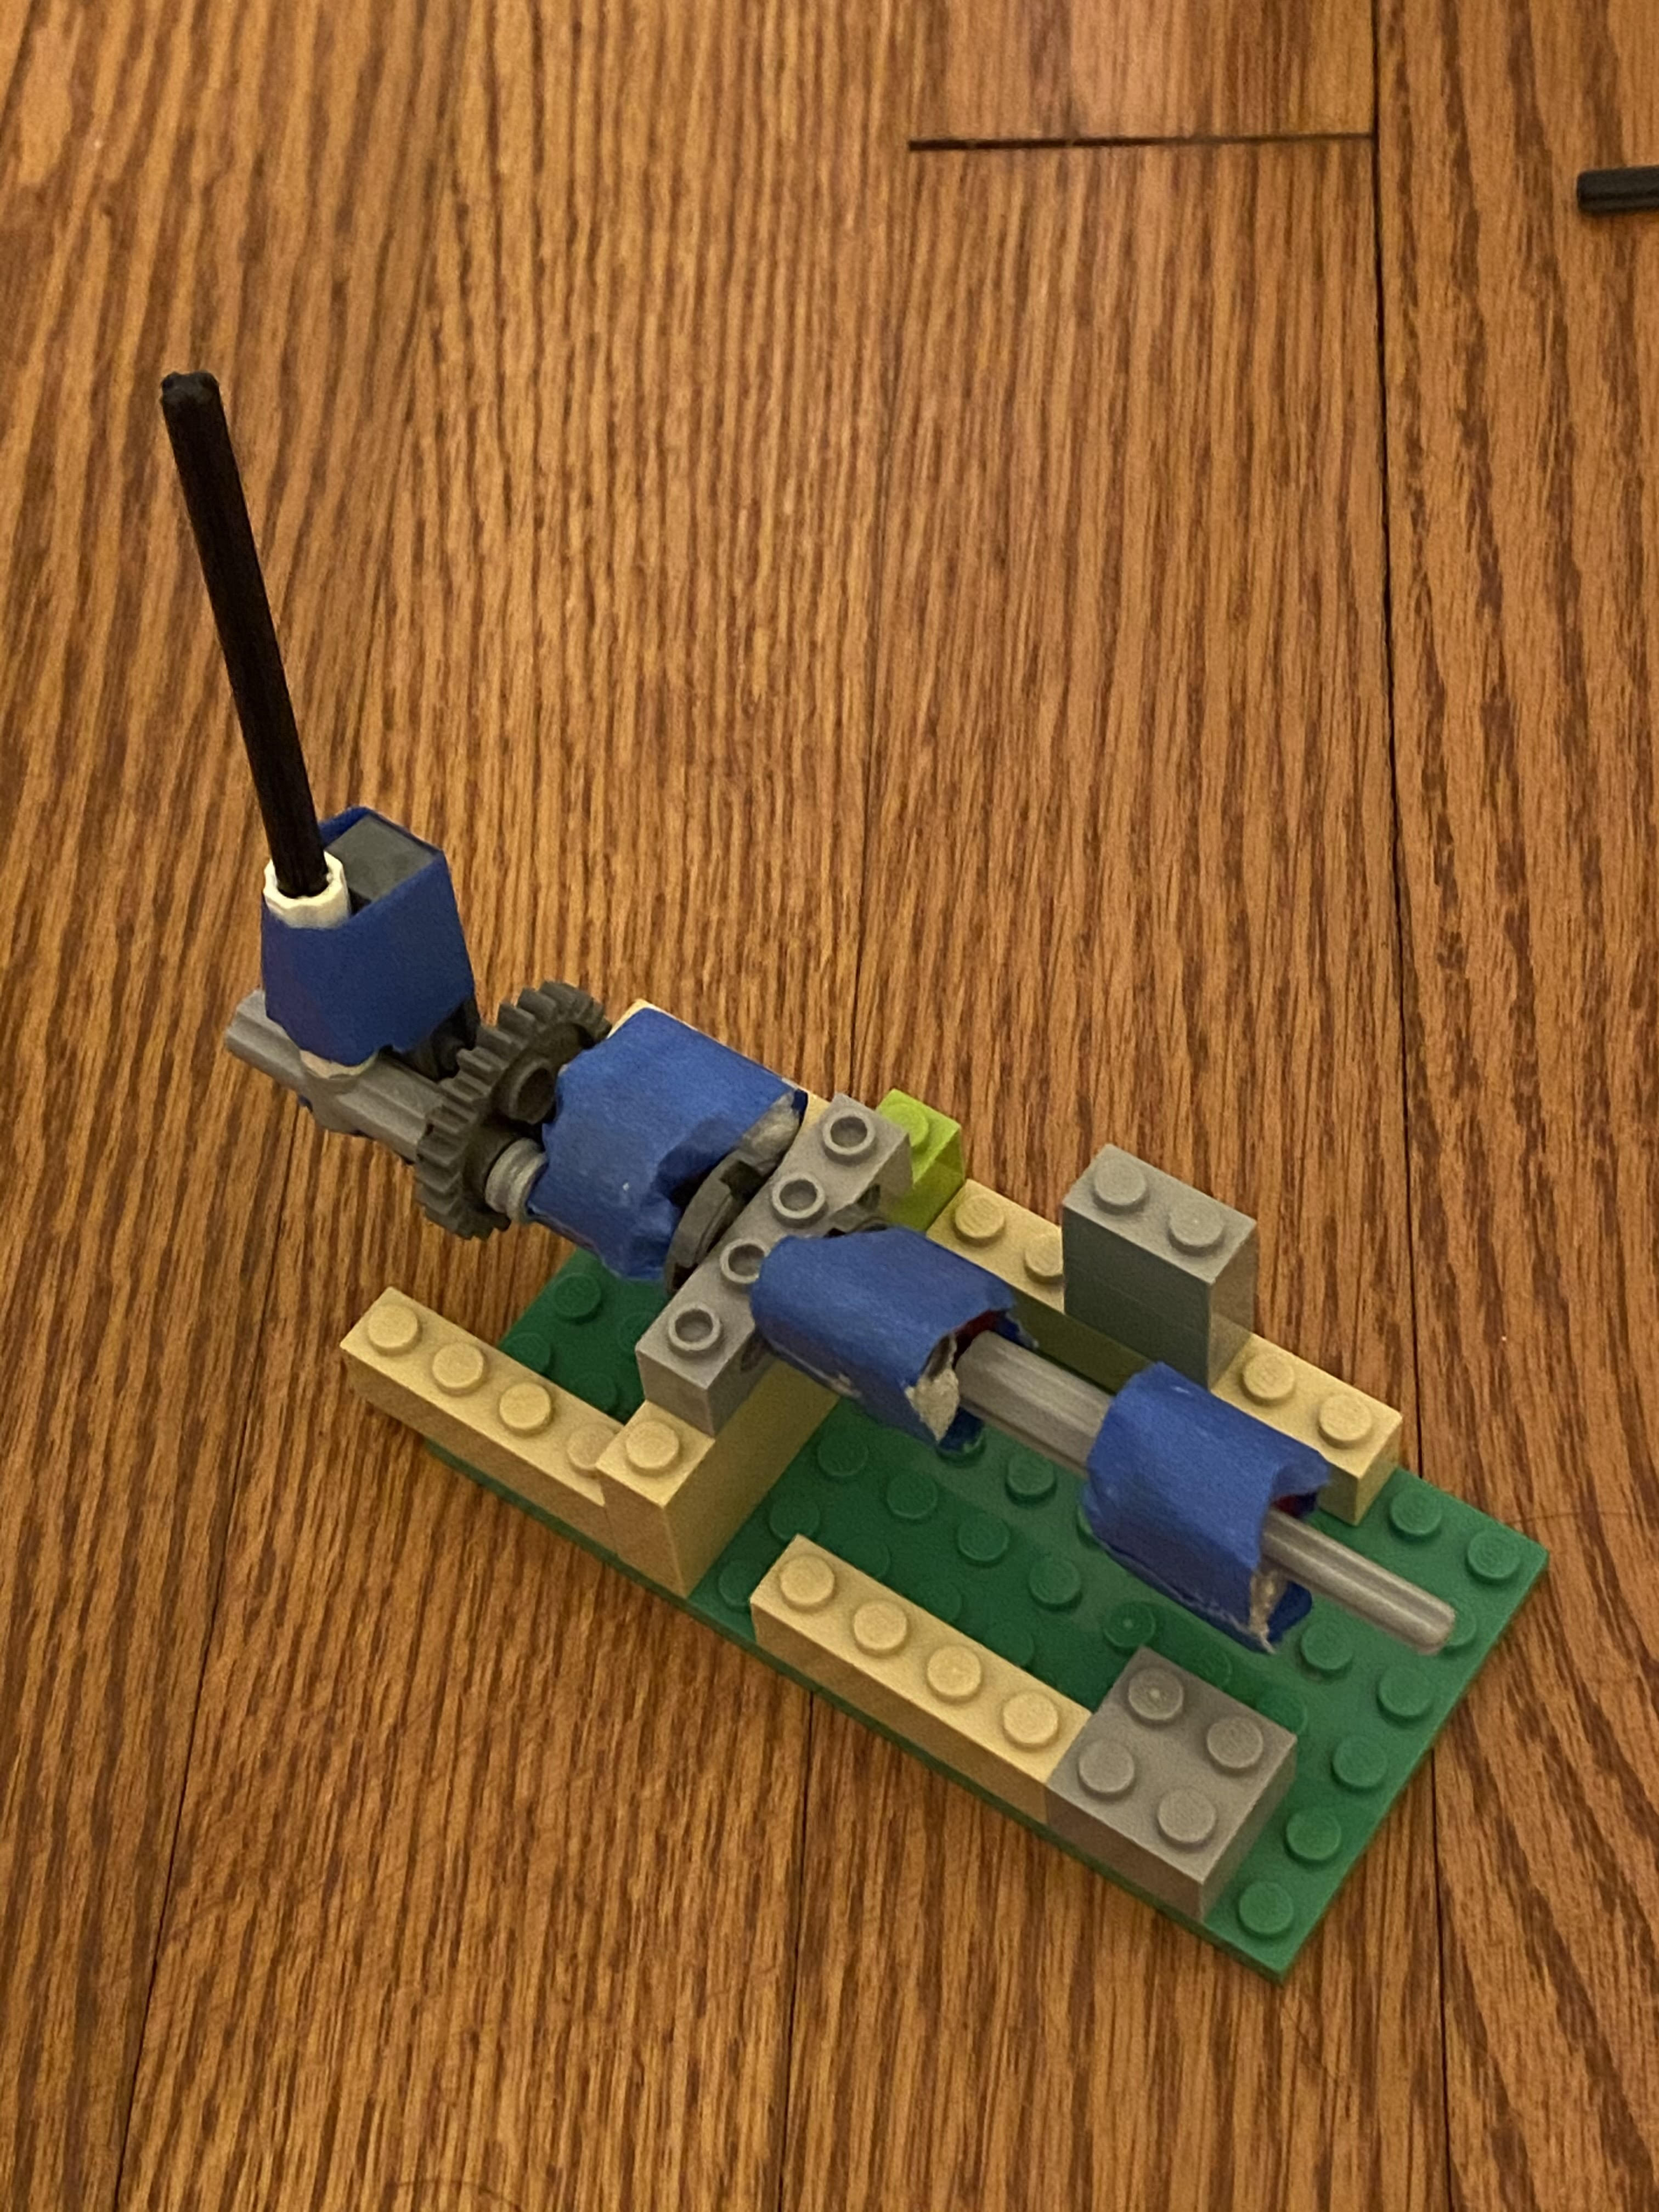
I then started work on the edge cams. They are all connected to the same axle so that I only need one motor. I originally thought it would be easy but then I realized by hot glue gun was in a box being moved. So instead, I superglued 2 lego pieces together and wrapped it with tape for a smooth edge. I didn't realize this at the time, but it basically meant that the birds would pop up and down instead of a more gradual rise and fall.
More work! I used legos because they were easy to piece together and, again, I didn't really have a good way to stick things together. Anyways, these axles ended up being too long so I cut them down. Also, for the clouds, I decided it would work more like a "reverse crank". The biggest issue was trying to figure out how to constrain the edge cams without impeding on the mechanism, but I eventually figured out to make a wide base.
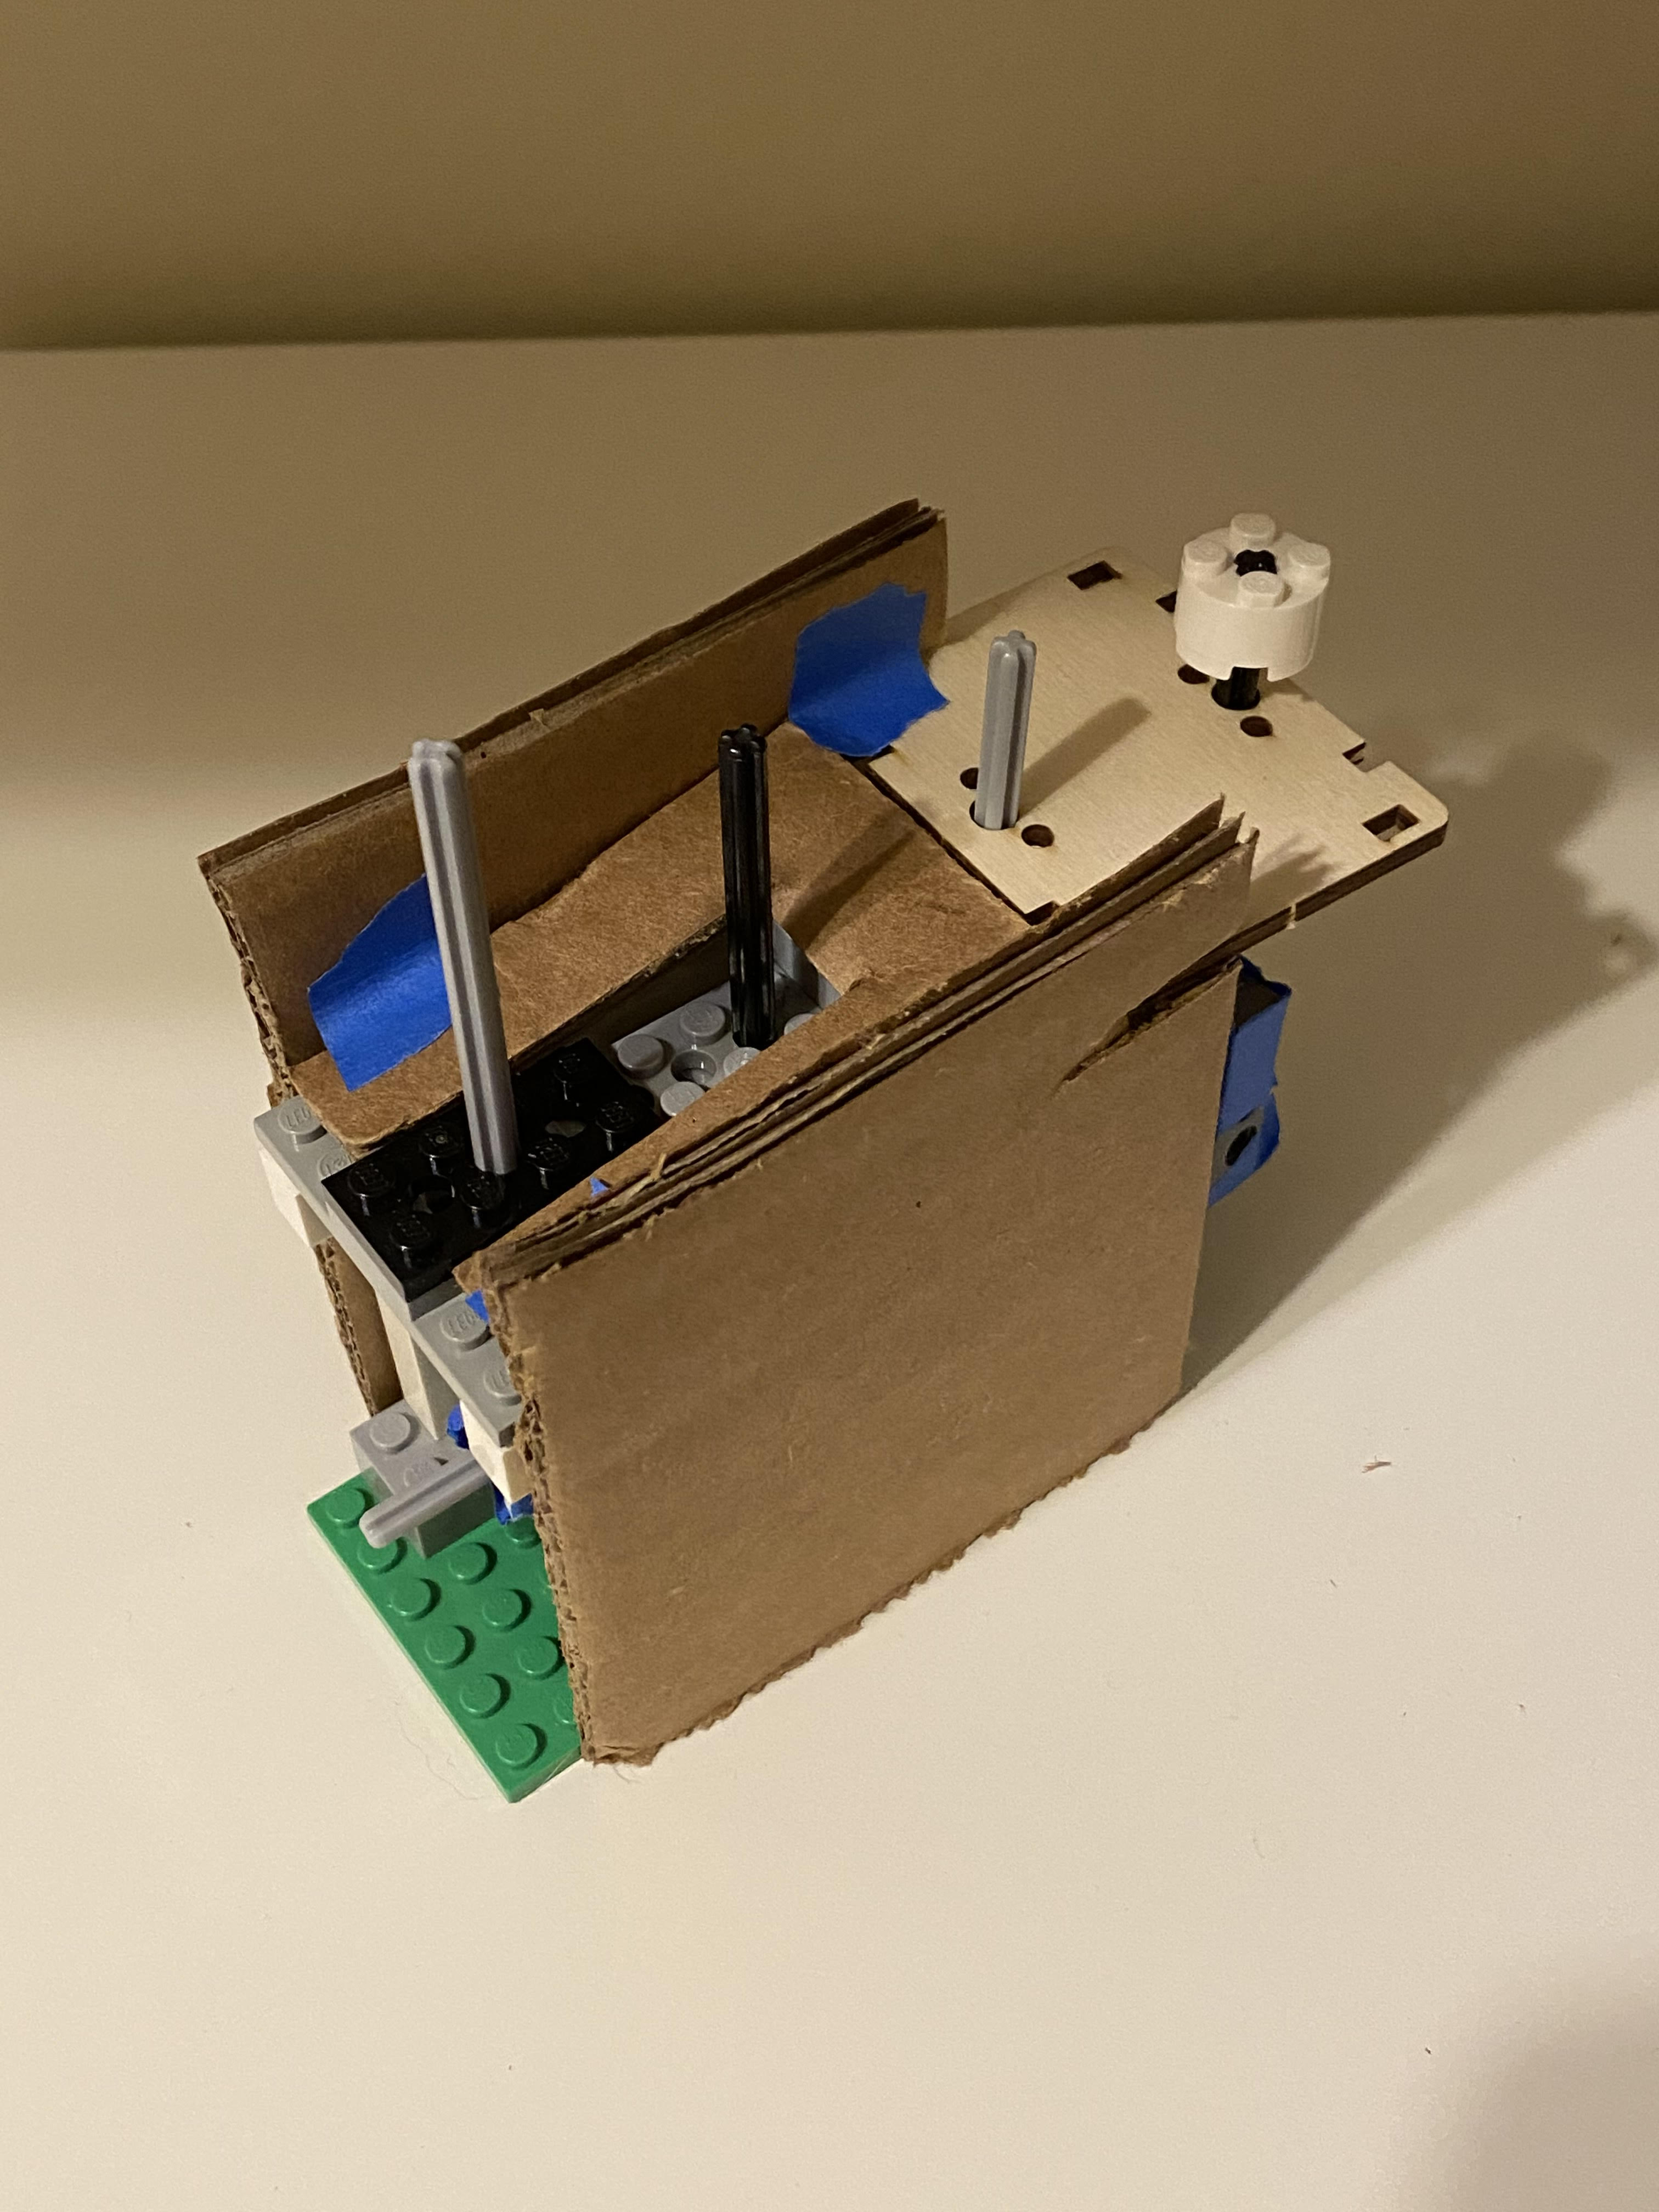
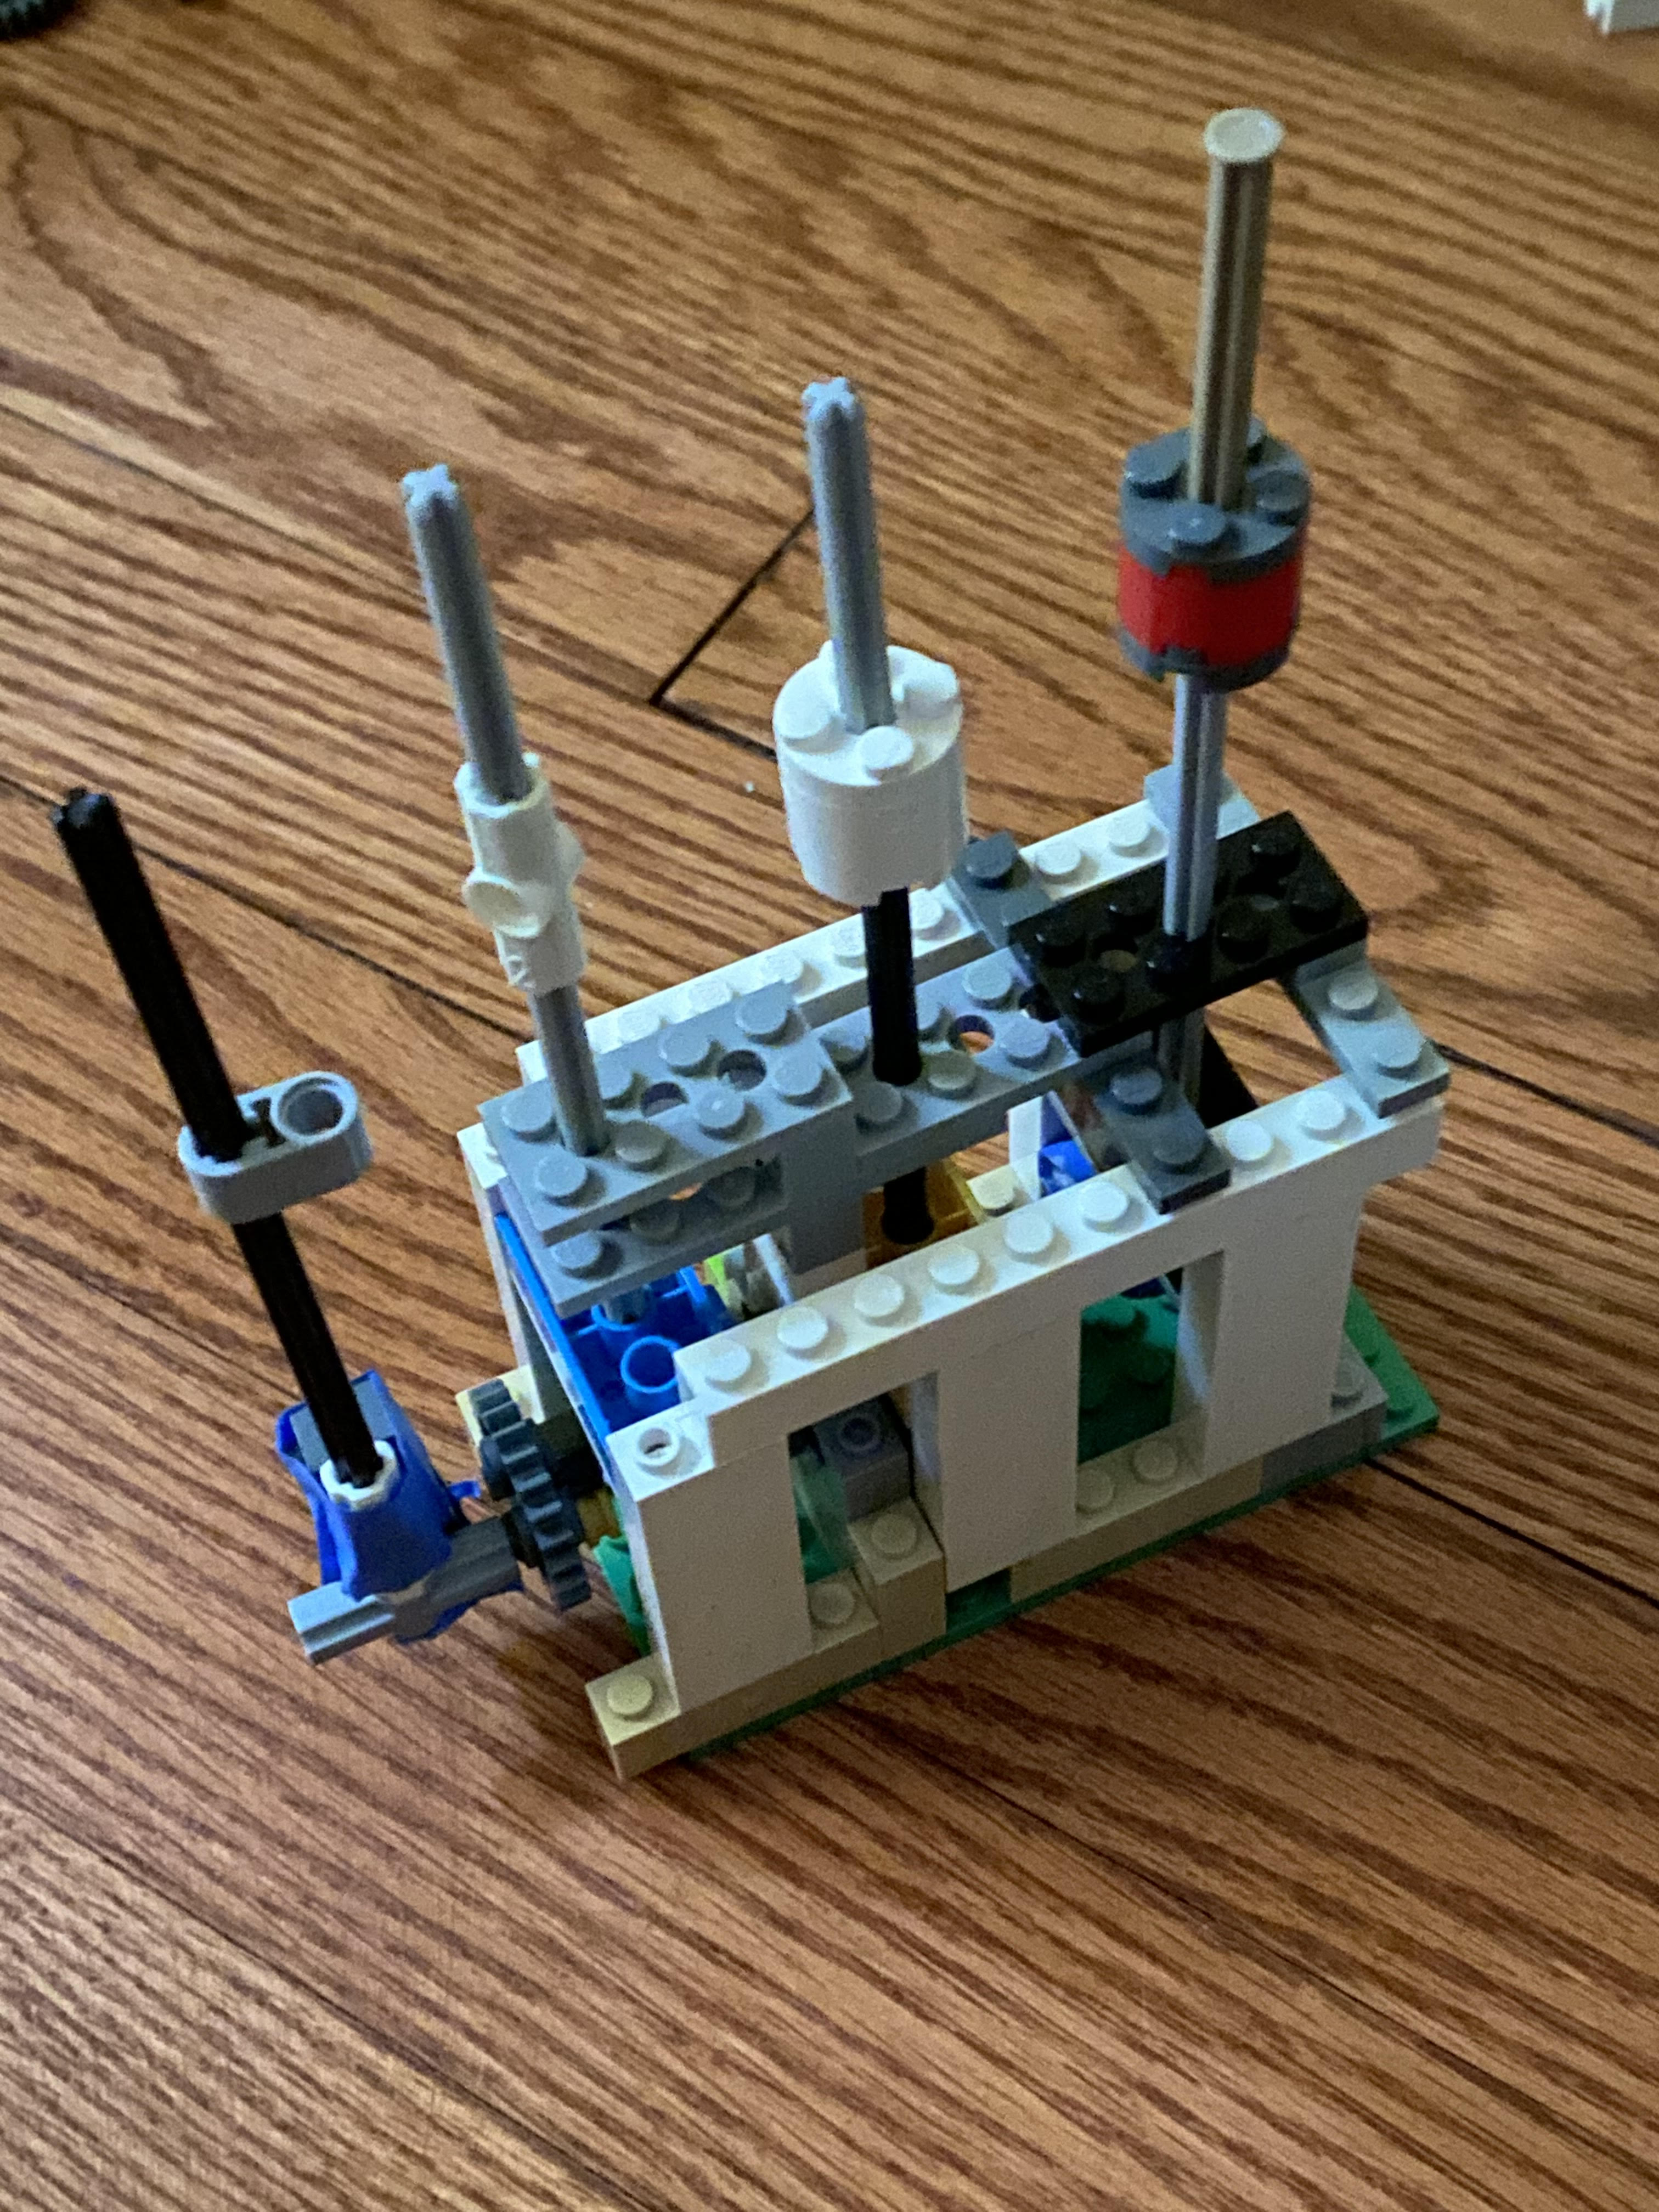
I then started to work on the outsides once the edge cams were working. I used one of the pieces in the laser cut out sheet and some cardboard I cut from the kit box to piece together the outsides. This took a few iterations to get right, however.
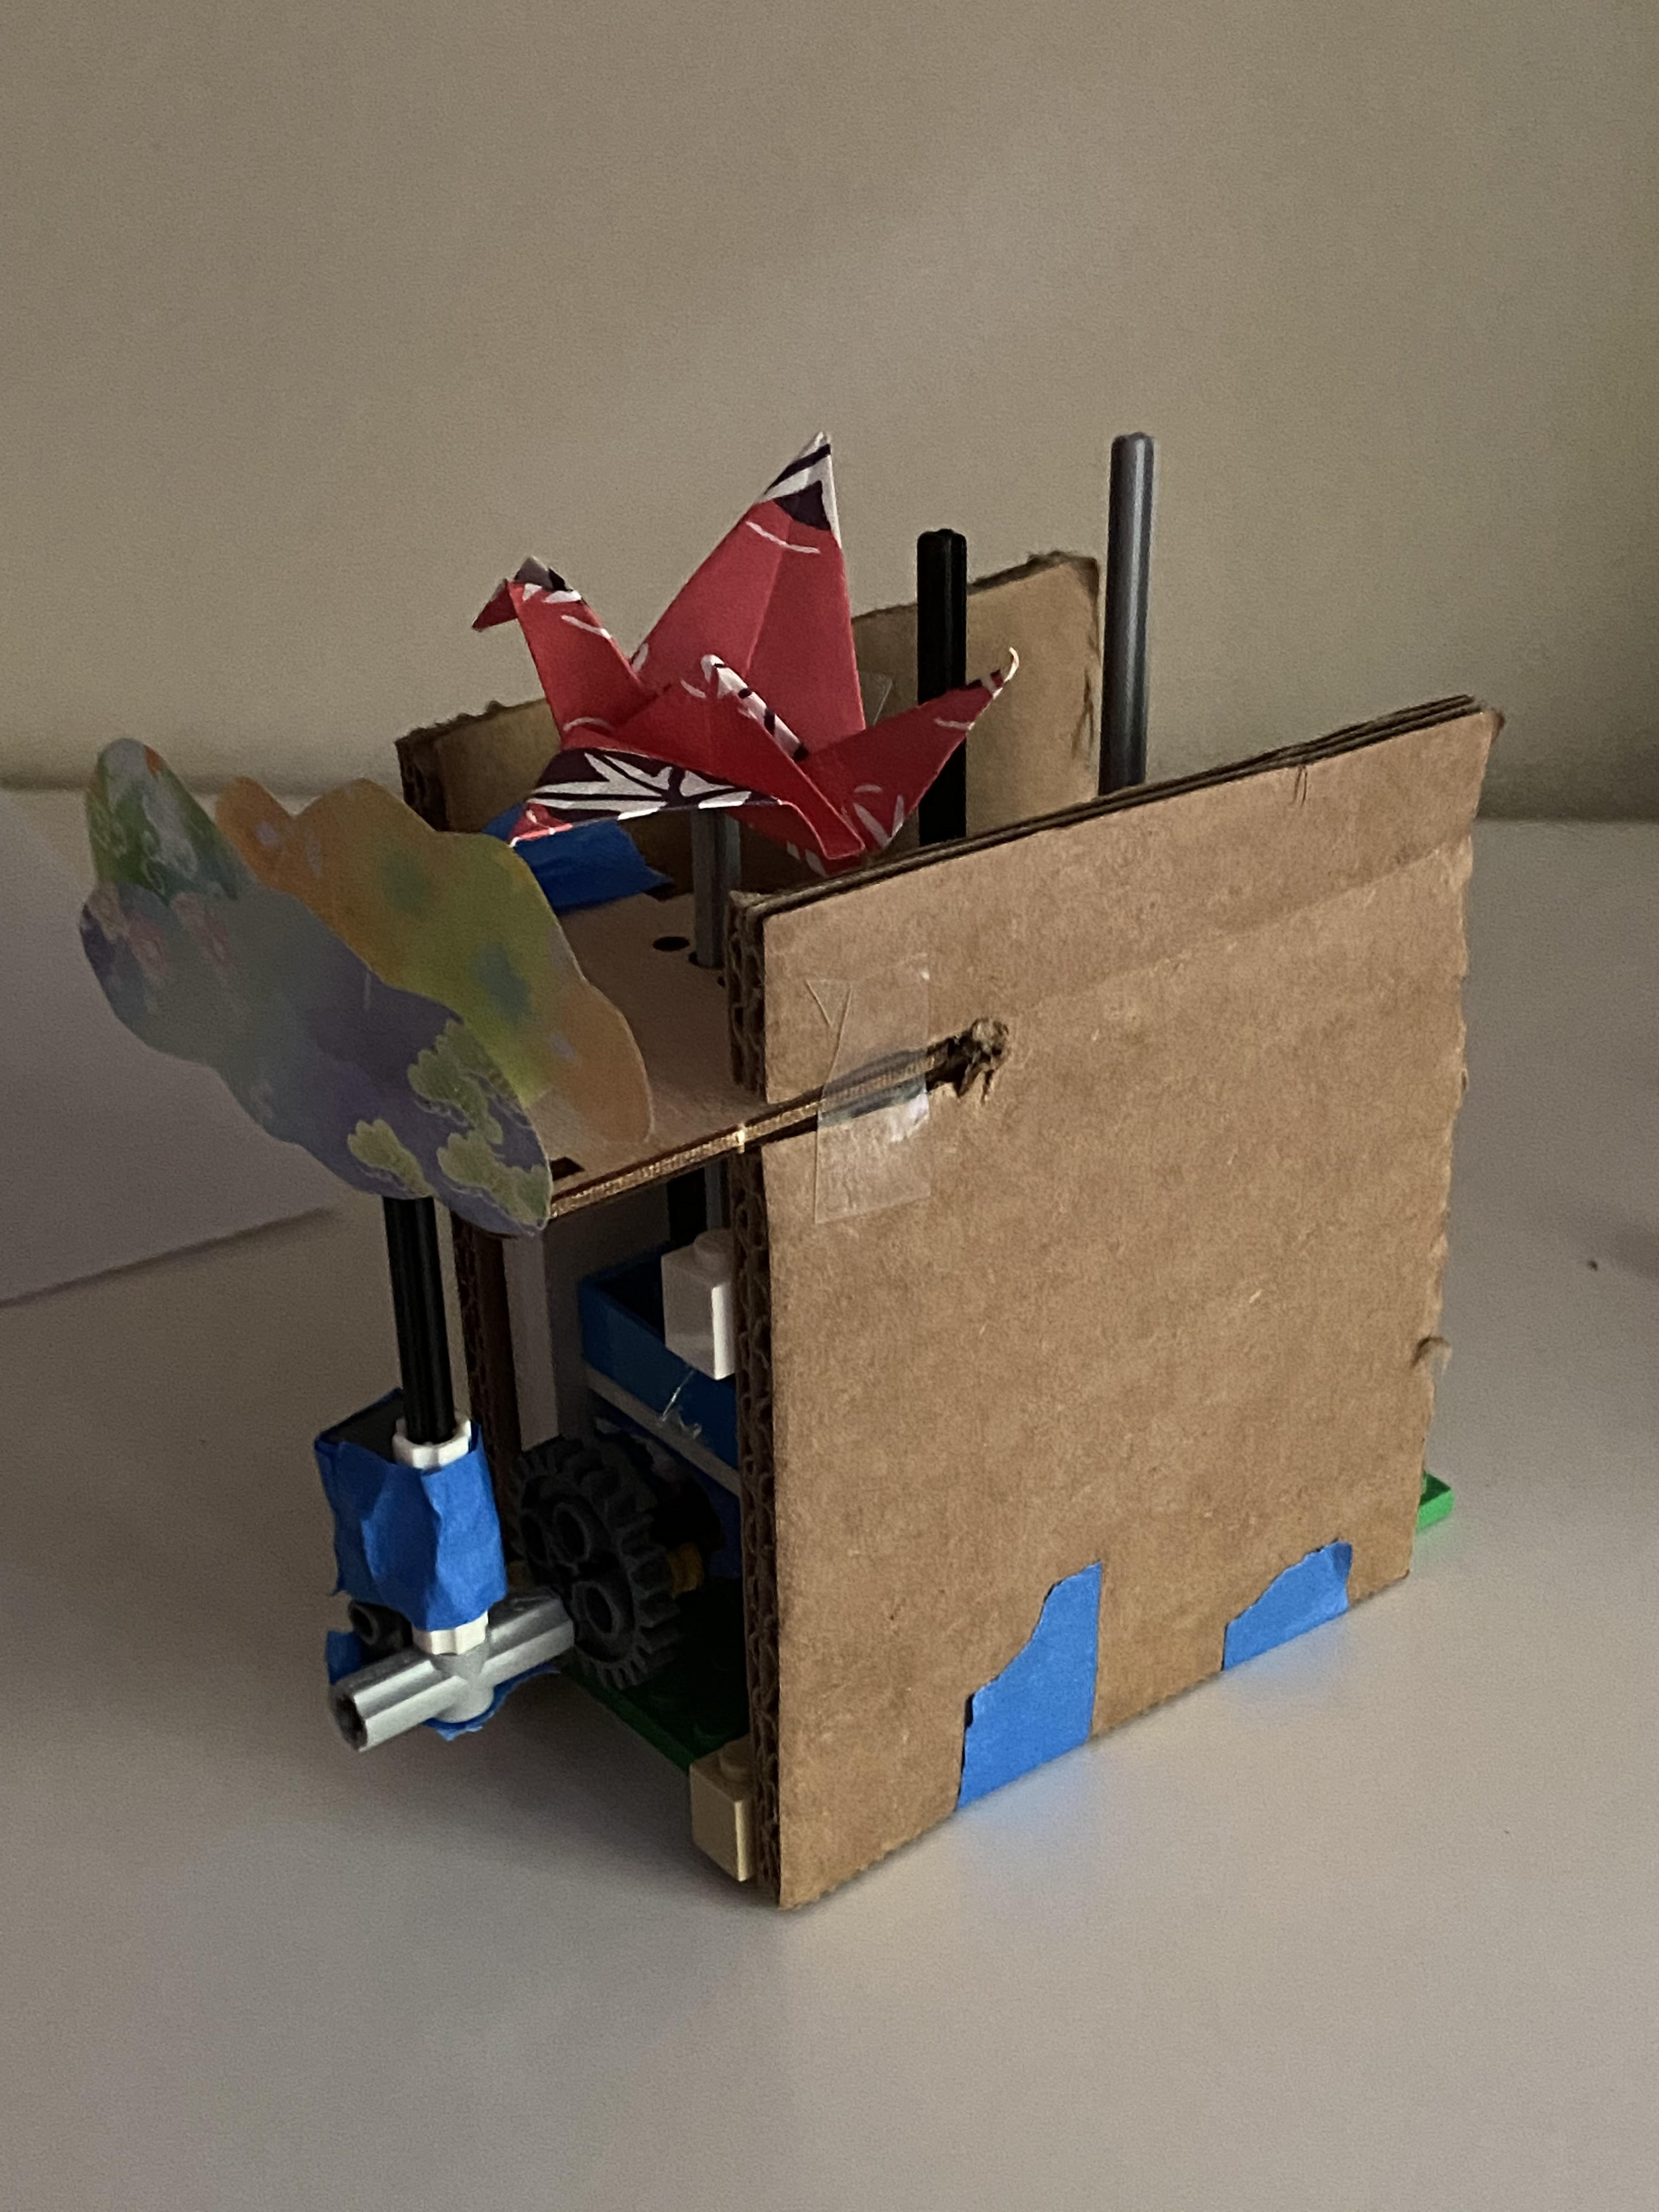
I tried a few different ways to build the exterior shell and this way ended up feeling like the best choice to me. I continued from here. Also added in one of the cranes! :)

After the cardboard was placed, the easy part was just cutting out origami paper and plastering it to the front and sides of the exterior. It was fun to do this, although I ended up cutting my finger in the process. Also finished adding in the cranes!
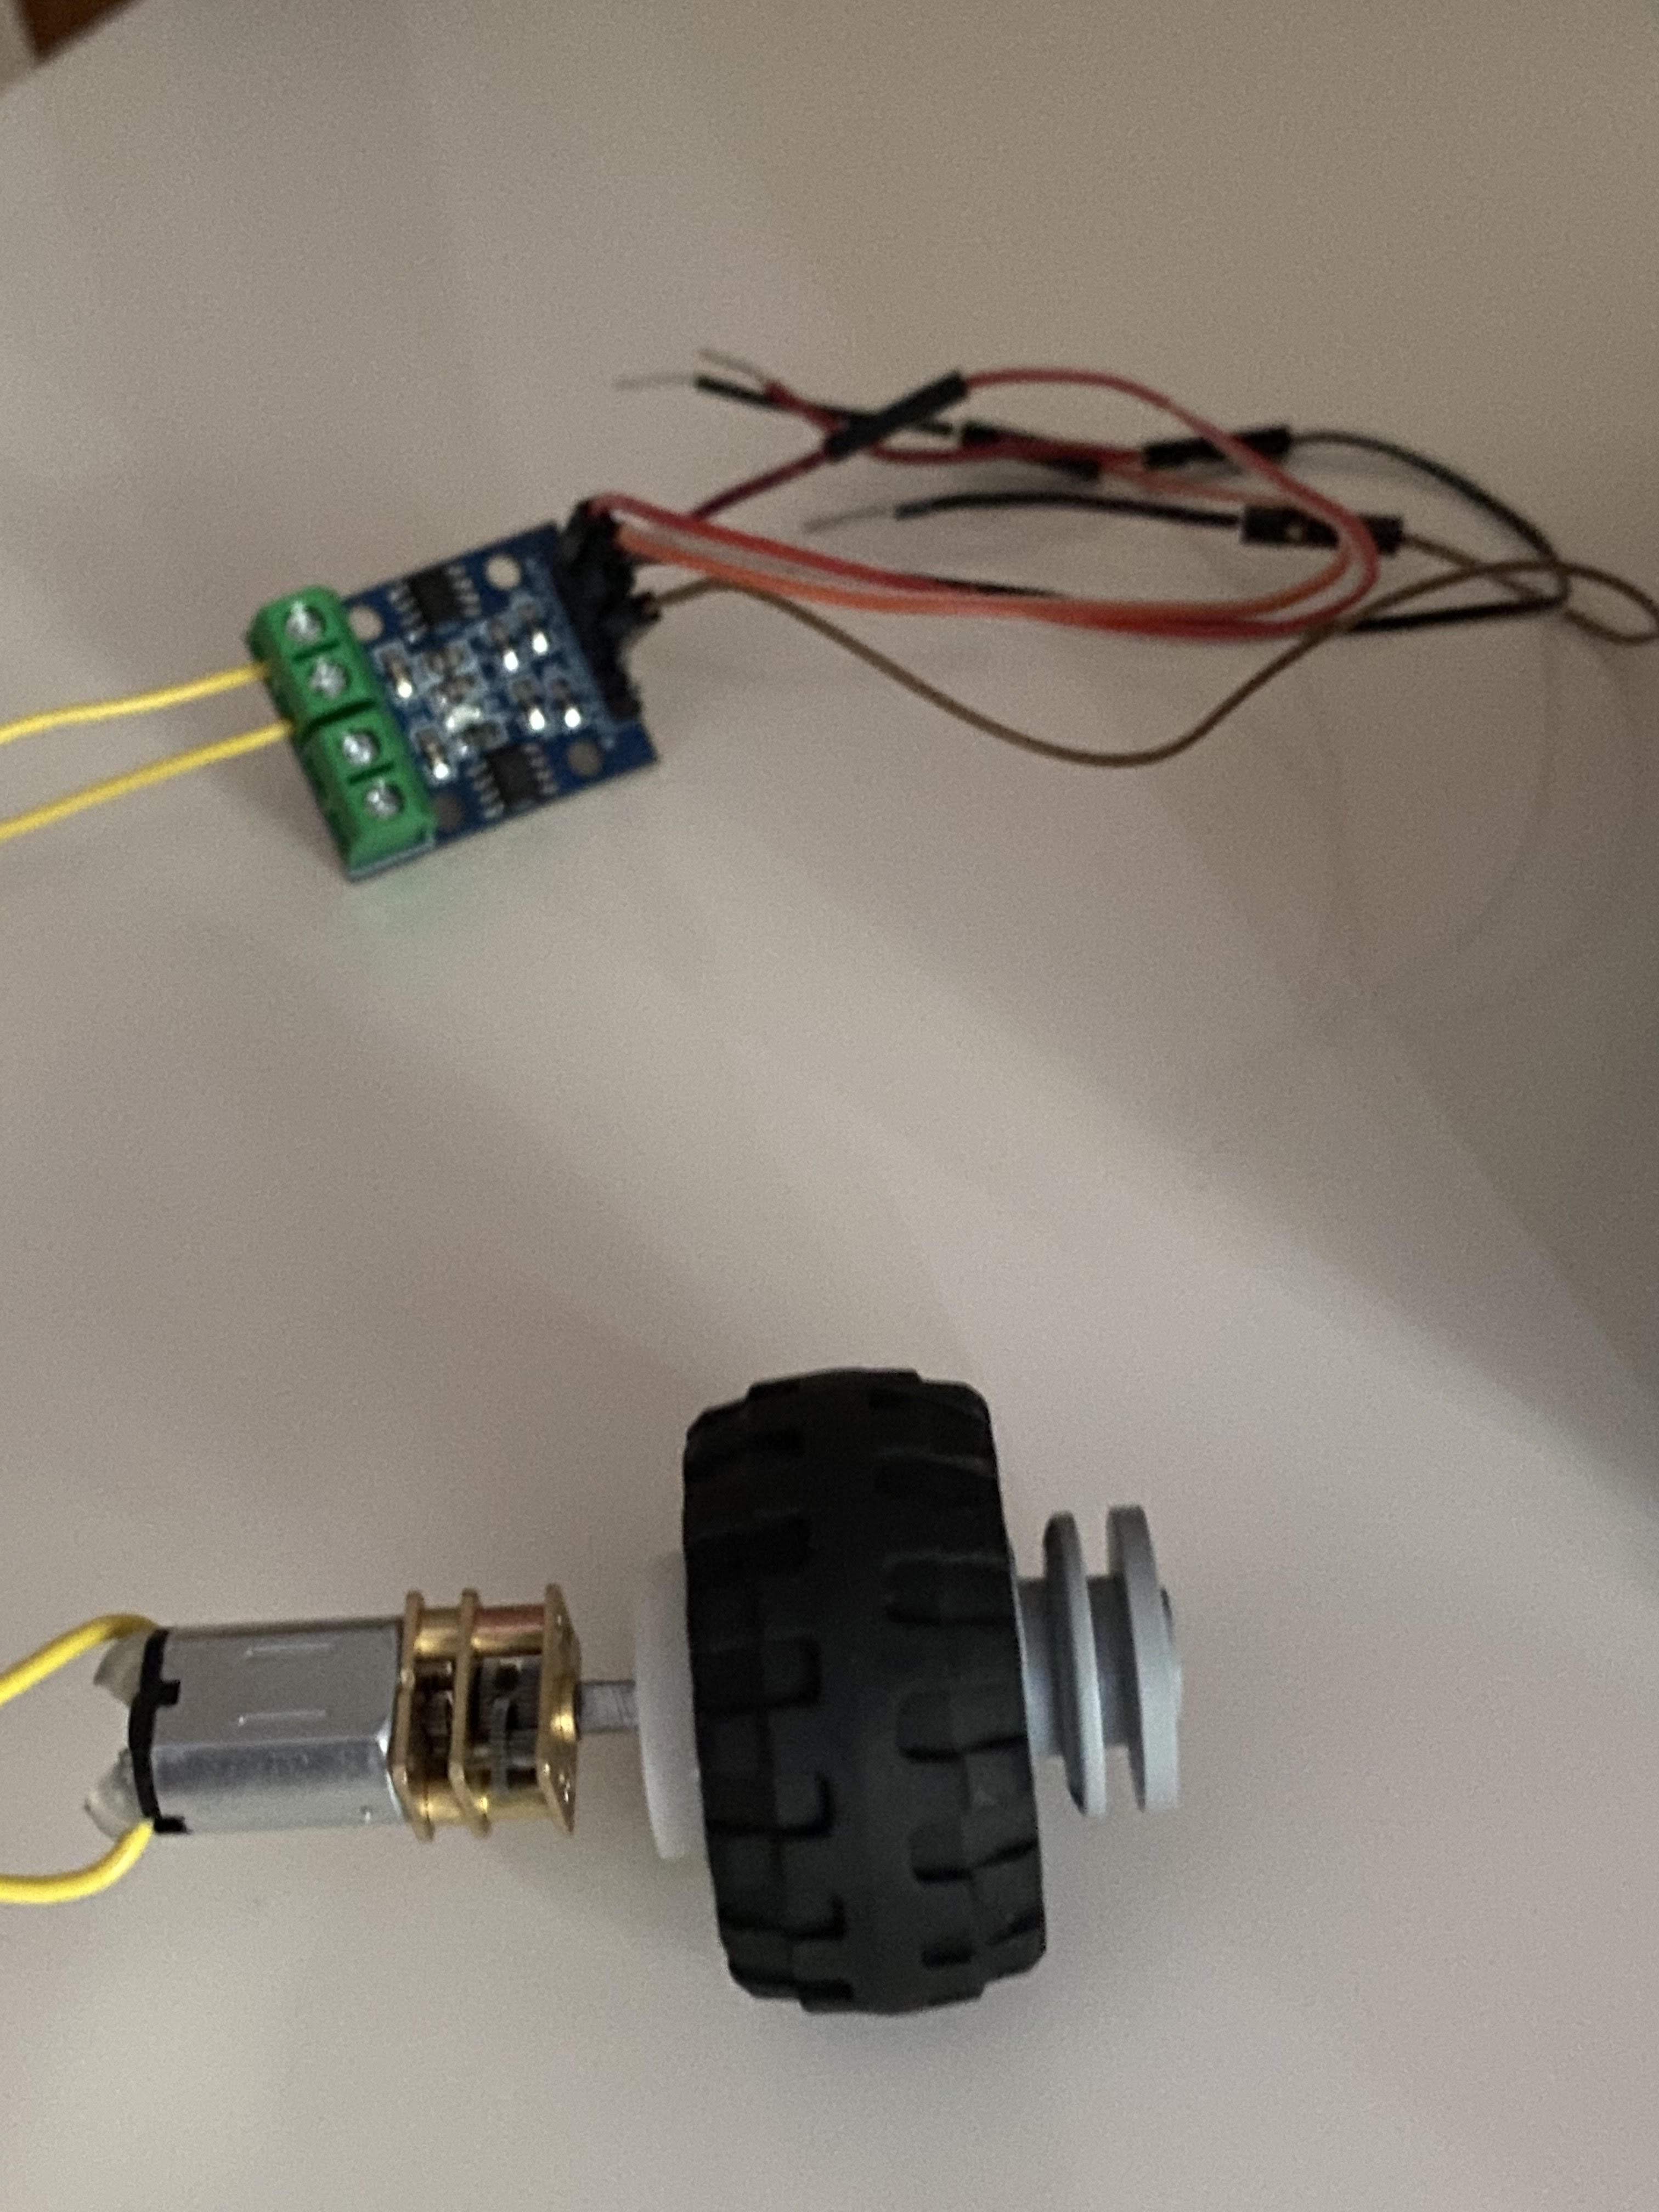
With the exterior done, my next challenge was to figure out how to connect the motor to the lego axle I had implemented. I dug around in the kit and found that white 3d printed "lego" wheel, and used a tire to link the 3d print with a real lego axle wheel together.
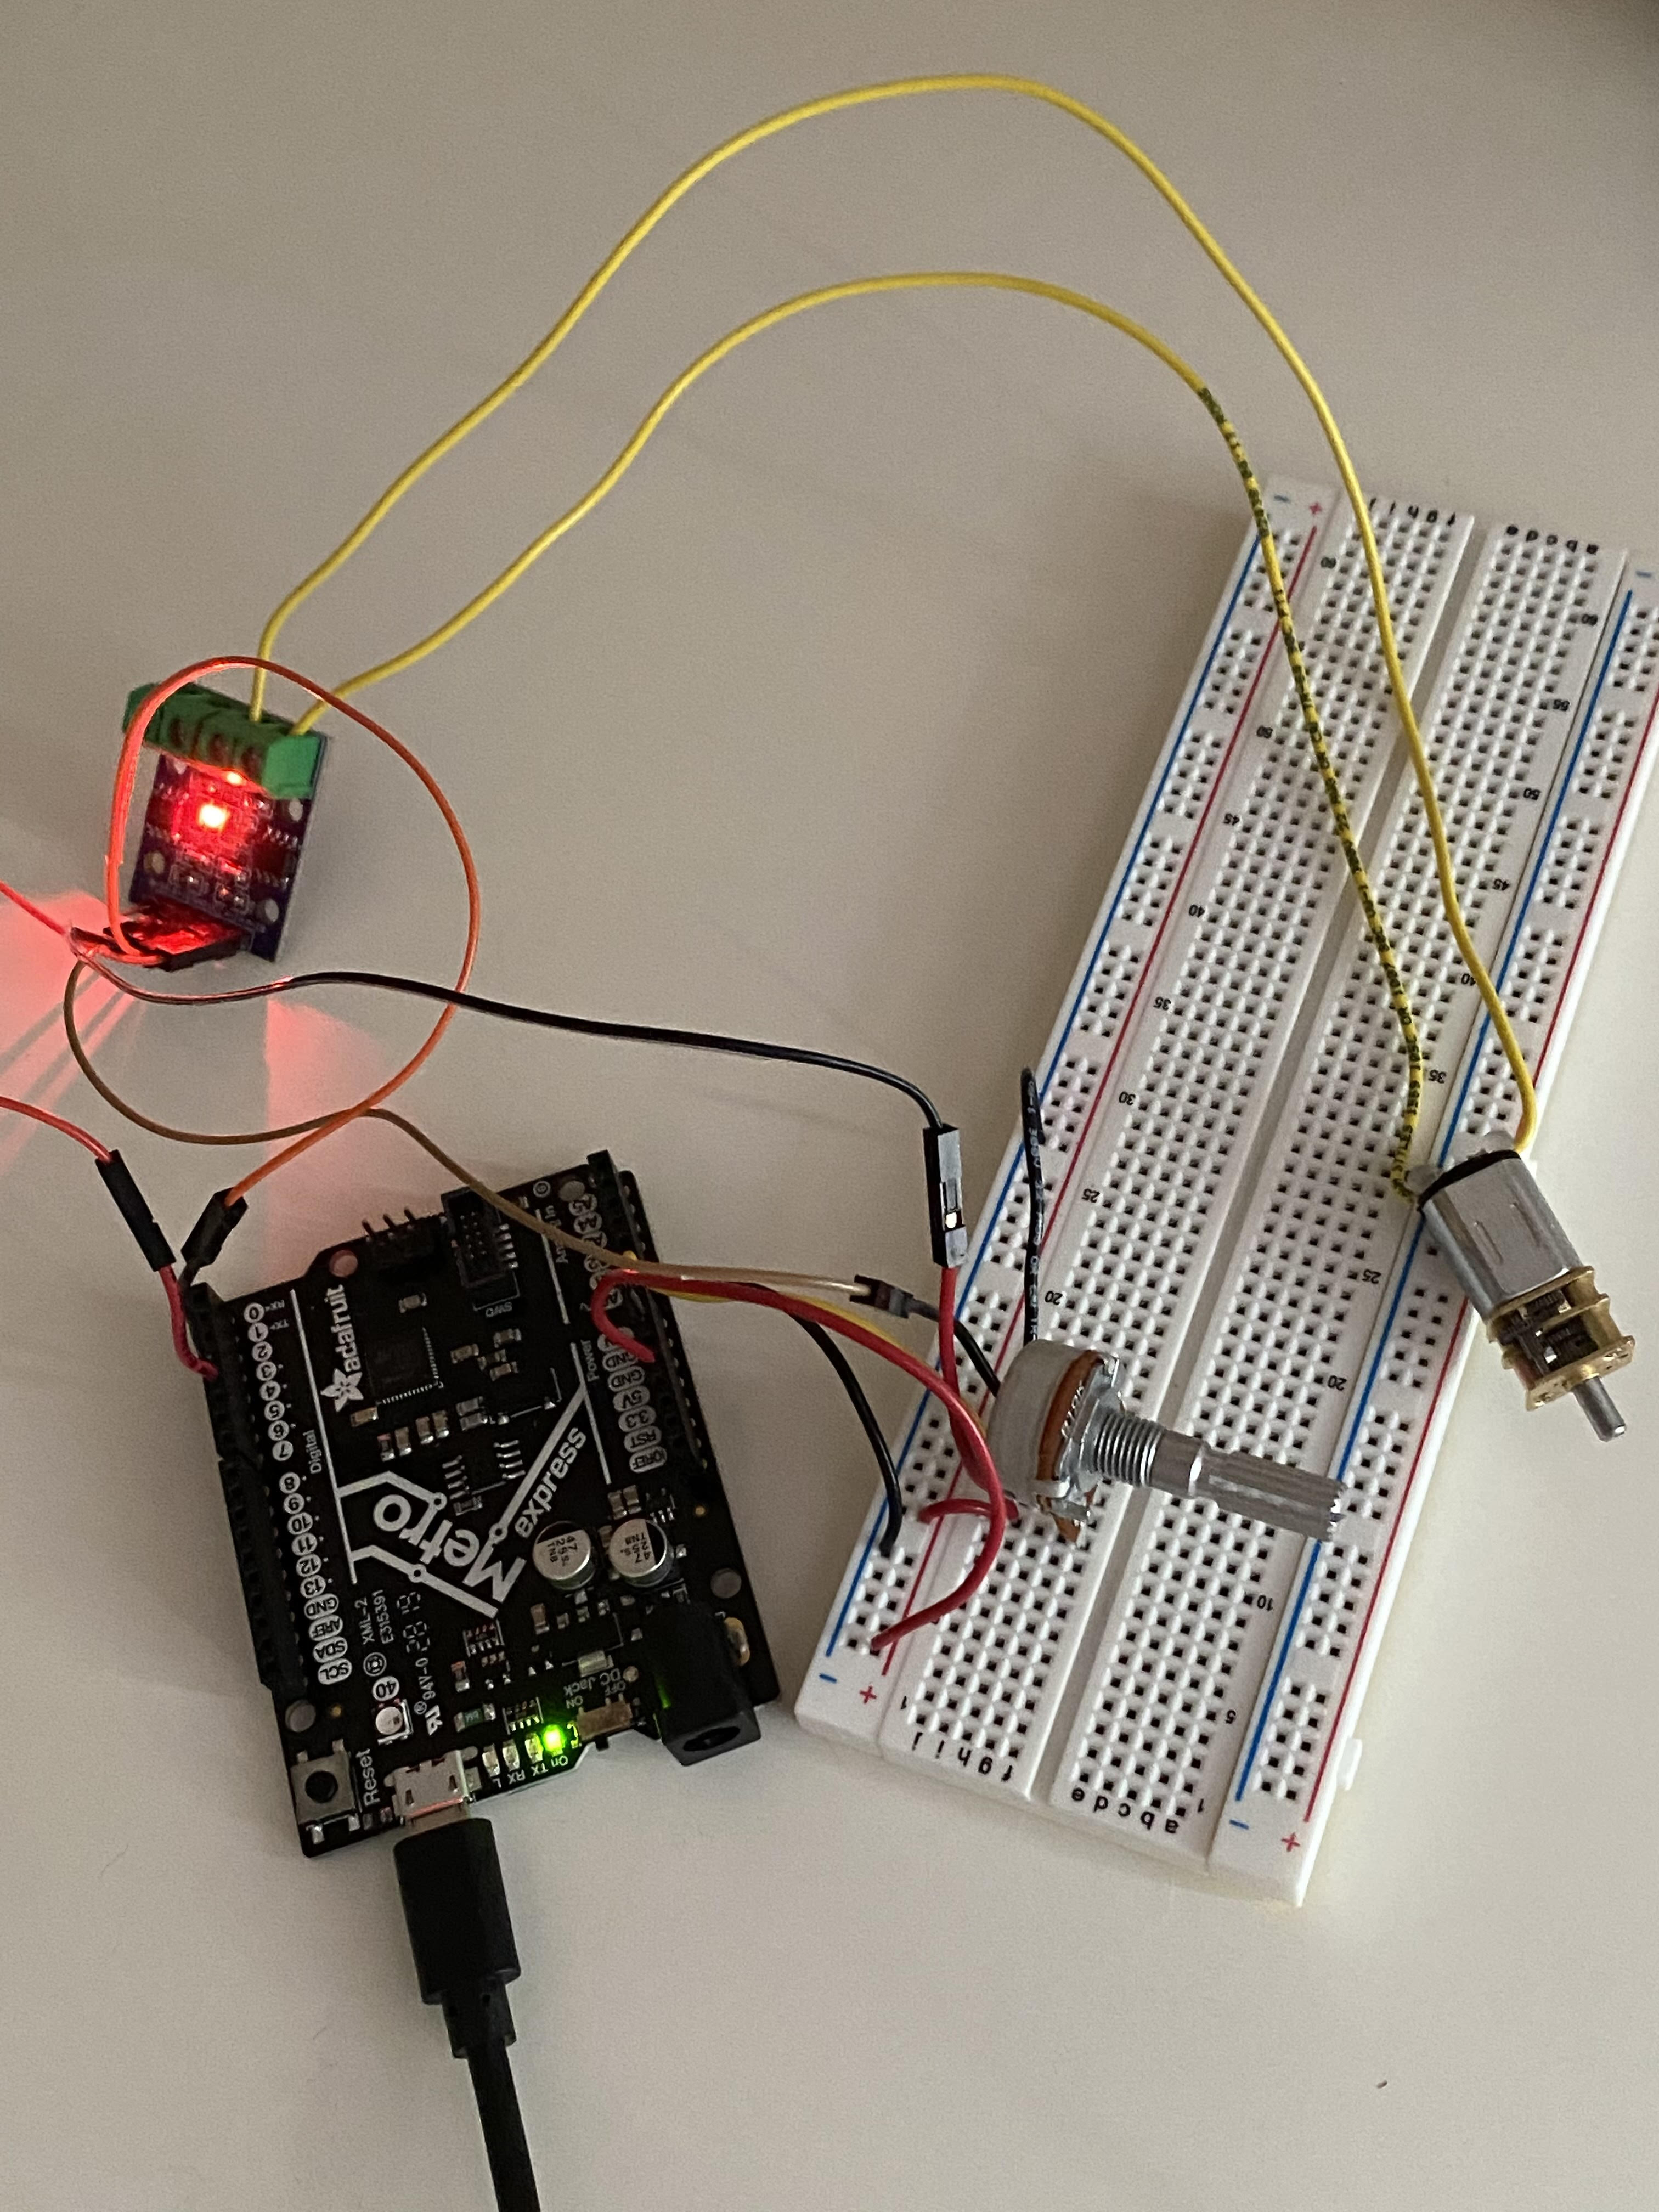
Next, I built the circuit. It was fairly simple, mostly because I was really on a time crunch and also thought it would be best if it was simply controlled by a potentiometer. I didn't want the circuit to start randomly moving from a touch sensor. Basically, the potentiometer would control the voltage input of Analog 0, and then that voltage would be sent to A1A for the motor to spin.
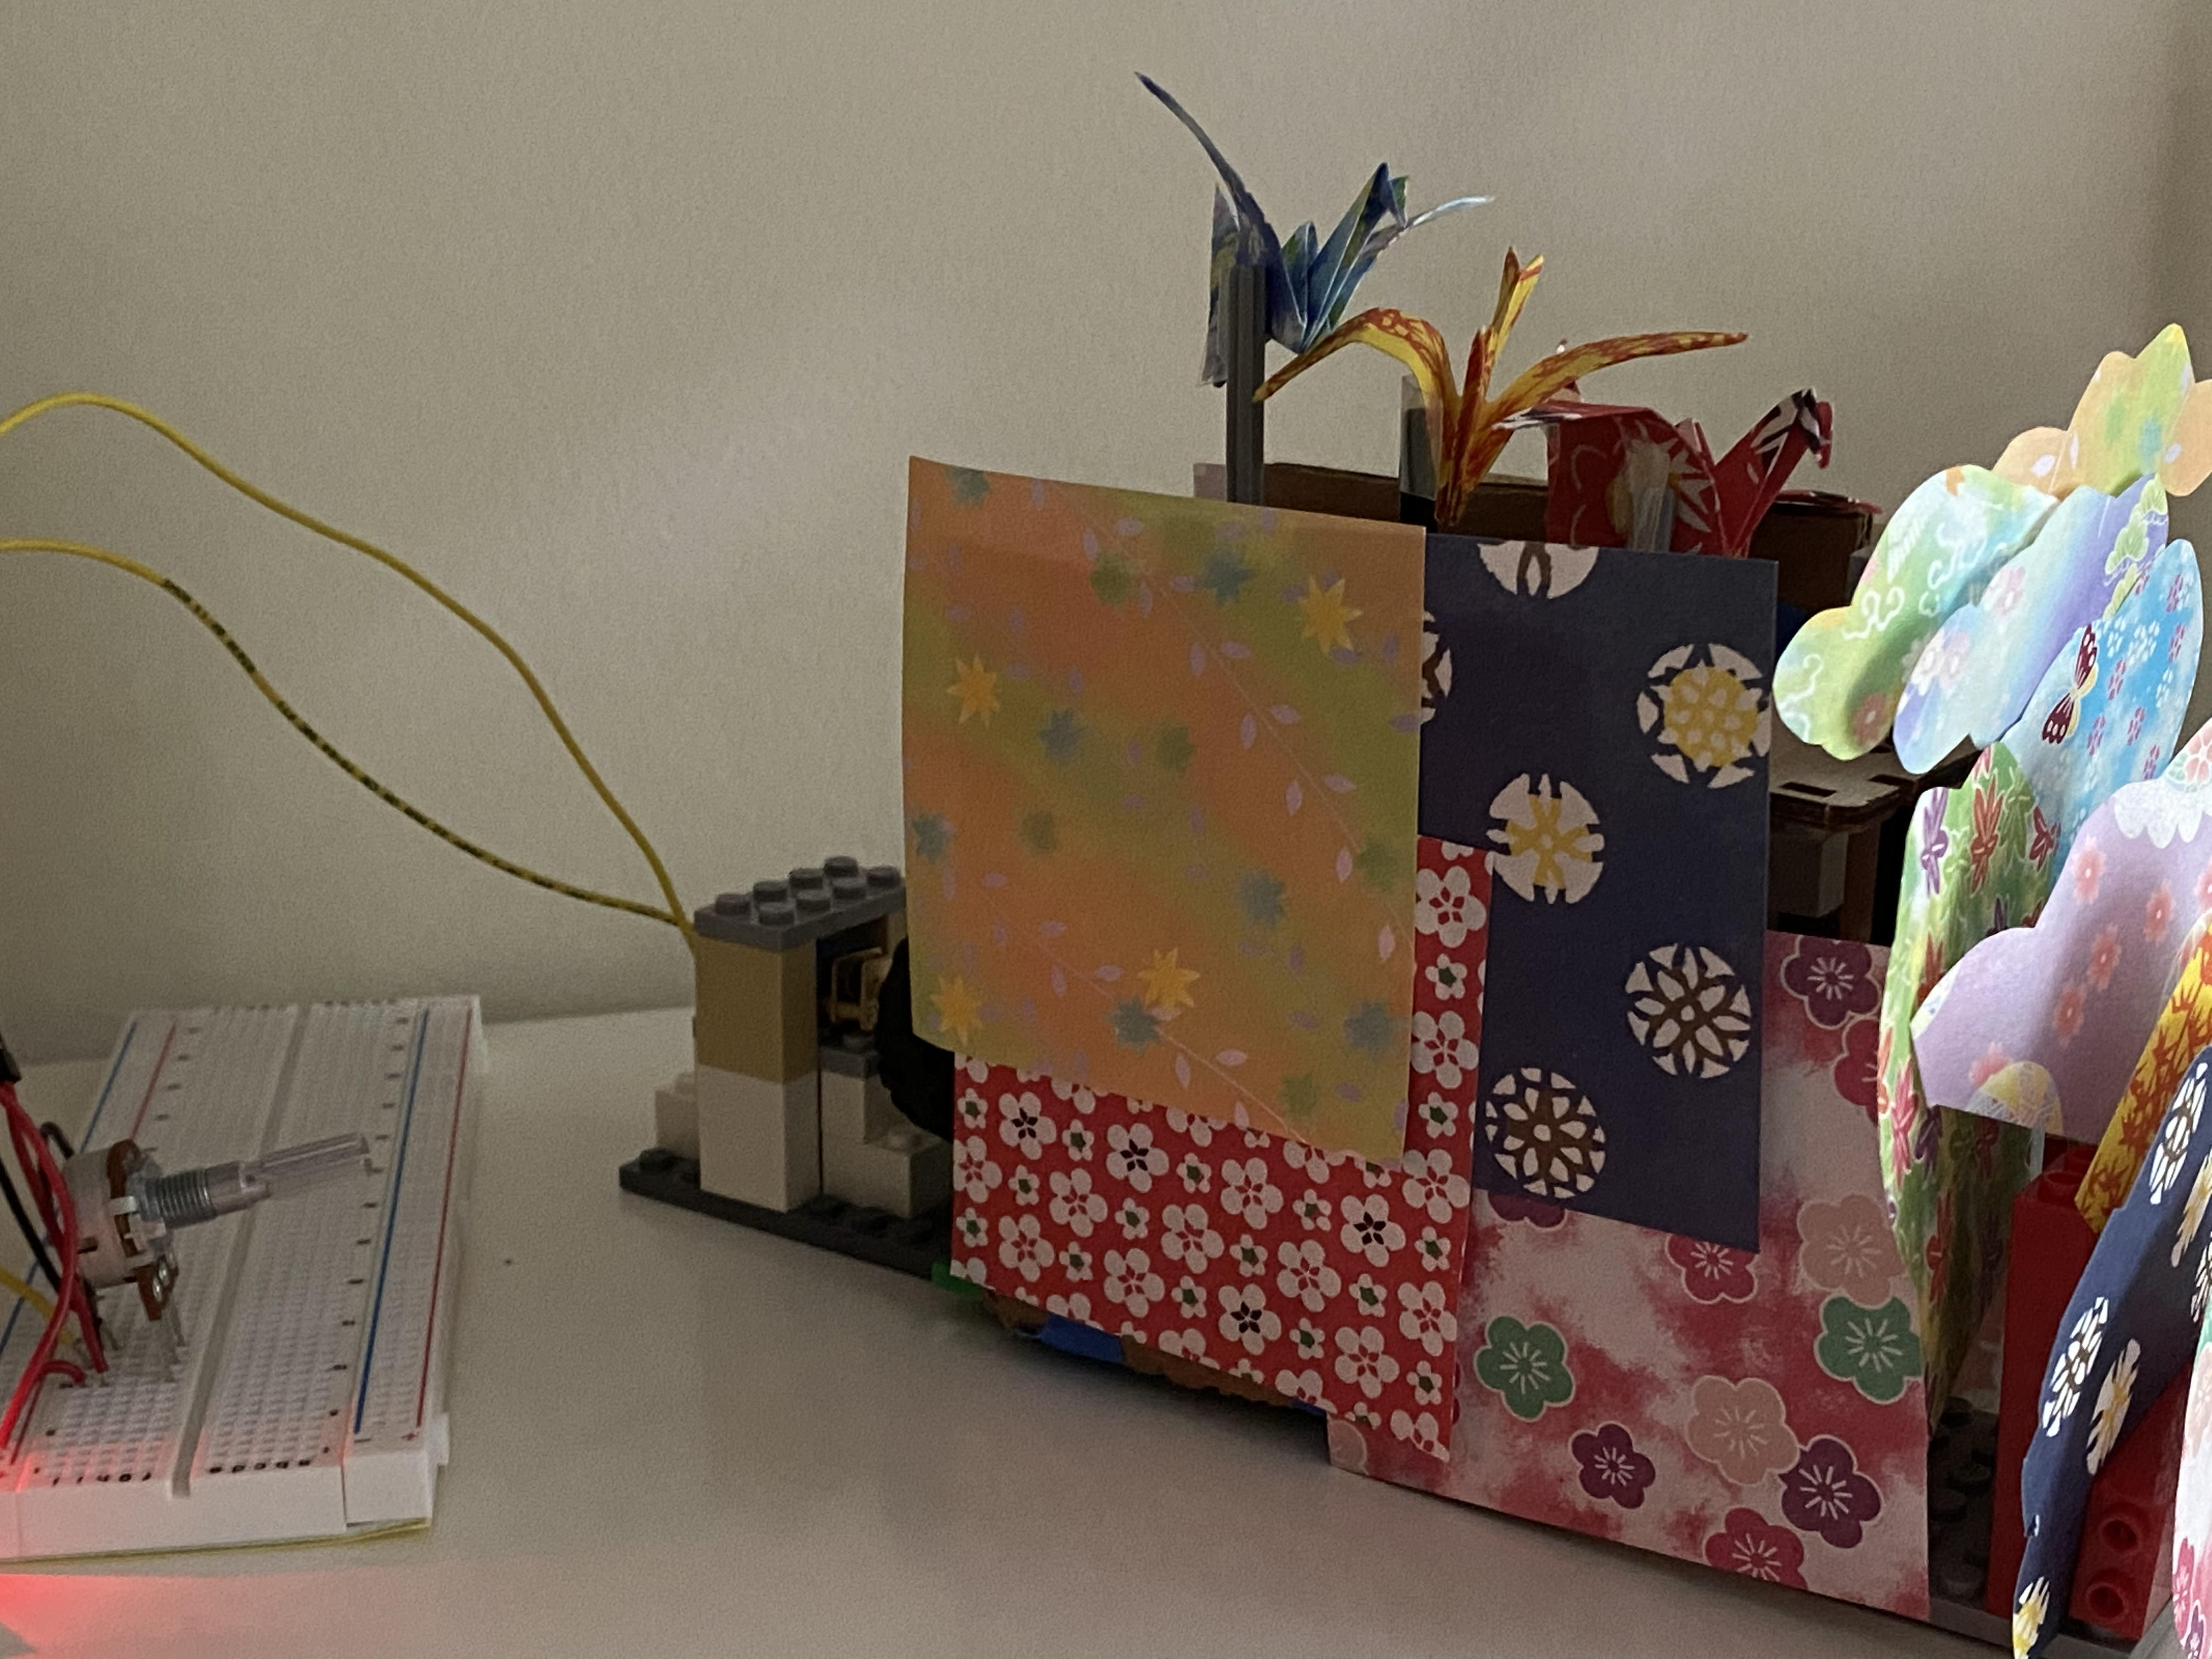
Almost done! I connected the motor and accompanying circuit to the actual sculpture. I didn't want to build anything for the Metro Express or breadboard because I might end up having to dismantle those parts anyways. This seemed like the best choice.
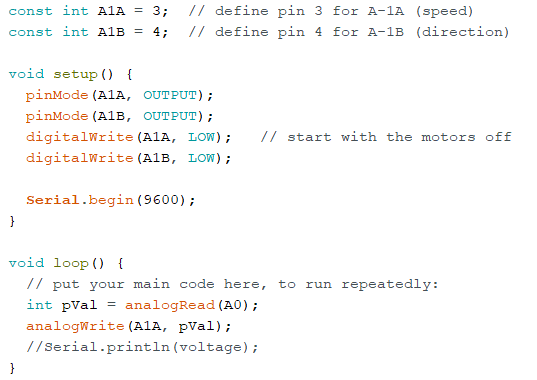
Finally, I coded the Arduino script. Basically, it just reads in the voltage received by Analog 0 and sends it to the motor, meaning that the motor speed is essentially controlled by the potentiometer.